


If you want the best eSIM for traveling the Netherlands, the “right” plan isn’t about the brand—it’s about matching your data habits (maps + WhatsApp) and making sure it covers the places you’ll actually go (including rural areas). We’ll walk you through what to watch for and how to activate it when you land.
We’re focusing on Amsterdam plus beyond (day trips to places like Haarlem, Zandvoort, Utrecht, and the Veluwe area). The goal: you arrive, you’re connected, and you don’t run out of data halfway through a canal walk or a scenic train ride.
1) Start with your data needs (maps, WhatsApp, and the “small apps”)

What uses the most data in the Netherlands
In Amsterdam, most data drains come from navigation and “always-on” services:
- Maps/navigation (Google Maps / Apple Maps): usually the biggest usage, especially if you re-route.
- Messengers: WhatsApp mainly uses data for messages and media (videos, voice notes, WhatsApp video calls).
- Social apps: loading feeds, uploading photos, and short videos can spike usage quickly.
If your travel style is “walk + check directions often” and you’ll send a few voice notes and photos, you’ll need more than the minimal plan.
A realistic data expectation for short city trips
For many travelers, the middle-of-the-road option (not the smallest data bundle) is the sweet spot. If you plan to:
- use maps for most moves,
- send messages daily,
- and upload or share a handful of photos/videos,
…then you’ll likely do best with a plan that gives you enough data for a buffer.
Tip: before you leave, download offline maps for Amsterdam + your day-trip area. It reduces your “I need directions right now” data use when the signal is weaker in parks, underpasses, or on trains.
Good to know: If you’re mostly using offline maps and WhatsApp for text (no frequent video calls), you can safely choose a smaller data plan.
2) Coverage beyond Amsterdam (what “rural” really means for eSIM data)

Expect solid coverage, but plan for low-signal moments
The Netherlands has strong mobile coverage overall, and Amsterdam is very reliable for 4G/LTE. The difference outside the city is usually not “no service,” but more fluctuation in:
- wooded areas (forests/parks),
- parts of the coast and dunes,
- and stretches between towns.
That’s why plan choice matters less than how you use data. Navigation will keep working better if you reduce re-routing and rely on offline maps.
Trains, buses, and “station-to-station” reality
On Dutch trains and regional routes, data is typically available, but you can still get brief dropouts. This is especially noticeable if you’re browsing while the train passes through cuttings or remote segments.
What to do:
- Keep WhatsApp on Wi‑Fi calling only if you know you’ll have Wi‑Fi (otherwise just let WhatsApp use your mobile data).
- Download offline directions and save key stops so you’re not constantly reloading maps.
Good to know: If your trip includes the Veluwe area or long day trips into quieter countryside, offline maps are your best “rural coverage insurance.”
3) How to choose the plan (data amount + validity days + speed expectations)
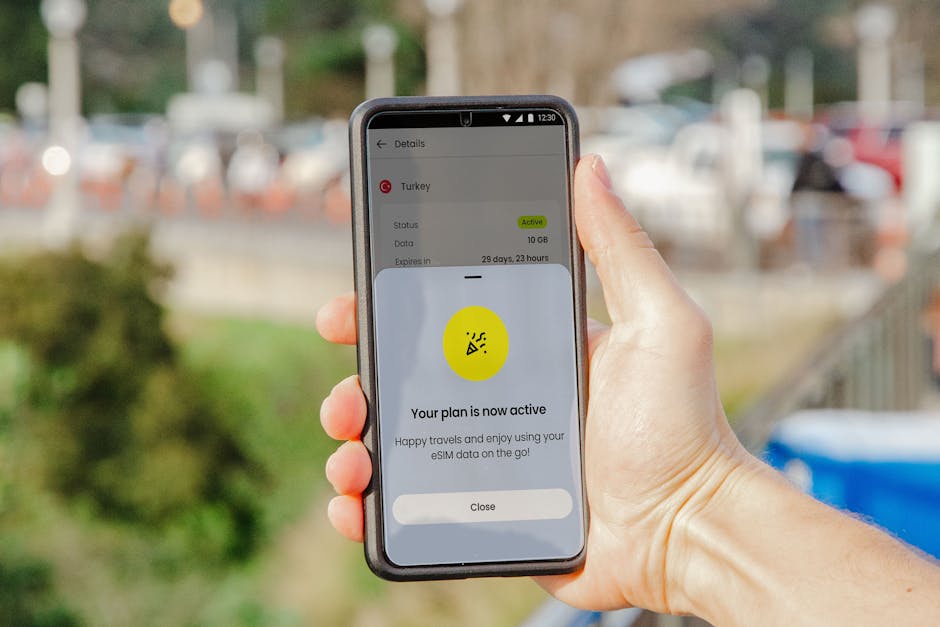
Choose data based on your behavior, not your wish list
When you look at eSIM plan options, you’ll generally see:
- Validity days (how long the data package lasts)
- Data allowance (GB)
- sometimes fair use / speed throttling wording
For Amsterdam + day trips:
- If you’ll navigate all day, choose enough GB to cover re-routing and photo sharing.
- If you’ll stay mostly in central neighborhoods and use offline maps, you can choose closer to a “lighter” bundle.
If you want a simple rule: always round up if you plan to use maps repeatedly and send media on WhatsApp.
Don’t ignore “validity days”
Many plans sell data by “X GB for Y days.” If you buy for a 7-day validity but only travel for 3 days, you’re paying for unused time. If you buy for 3 days but your trip spills into day 4, you’ll feel it fast.
Pick the plan that matches your actual travel days (count travel days even if you land late—data starts when you activate).
Consider tethering/hotspot needs
If you plan to use your phone as a hotspot for a laptop or tablet, you’ll chew through data much faster. Some eSIM providers also restrict high usage or hotspot usage—check the plan details carefully.
Good to know: If you only need phone data for maps and WhatsApp, stick to a phone-first plan. Avoid hotspot-heavy plans unless you truly need them.
4) Activation on arrival (the easiest way to stay connected from the airport)

iPhone vs Android: same idea, different menus
The activation process is usually:
- Buy/select the eSIM plan before you travel (so you have it ready).
- Install the eSIM on your phone.
- Activate it (often via a QR code or provider instructions).
- Allow mobile data for the new line.
On arrival, the key is: you don’t want to waste time hunting for settings at the gate.
The practical “arrive and connect” workflow
We recommend this approach:
- When you still have airport/plane Wi‑Fi, install and activate the eSIM (if the provider allows activation before landing).
- Once you’re in the Netherlands and your phone shows the connection, turn off any duplicate data lines to avoid surprise roaming.
- Test immediately: open WhatsApp, send a short message, and open maps once.
If activation requires a “manual start” step, activate as soon as you have signal and Wi‑Fi available.
Keep your old SIM/roaming under control
If you’re arriving with a physical SIM (or eSIM) from home:
- disable roaming on the old line,
- and set the Netherlands eSIM as your data line.
This prevents accidental double-charging and keeps troubleshooting simple.
Good to know: Turn on Airplane Mode for 10–20 seconds after activation if the phone doesn’t immediately connect—then switch it back off.
5) Which provider to consider (and what plan style to look for)
Different eSIM brands offer different package sizes and activation flows, but what you’re really comparing is plan options and how smooth the setup feels on your device.
Airalo (common pick for multi-country travel)
If you travel more than just the Netherlands, Airalo is often chosen because you can bundle multiple countries and pick a plan that matches your days.
For the Netherlands, look for a plan that offers enough GB for navigation + messaging and make sure the validity matches your trip length.
Yesim (easy-to-browse bundles)
Yesim is worth checking if you prefer straightforward bundle choices for Europe trips. Focus on choosing a package where “days” are aligned with when you’ll actually have the phone active.
Drimsim (another option for Europe coverage)
If you’re comparing options and want a third brand to review, Drimsim is one more route—use the same checklist: data amount, validity days, and activation instructions.
Good to know: Regardless of provider, prioritize GB + validity days over marketing names. The “best eSIM” is the one that won’t leave you stuck with offline-only maps.
Final tips
- Download offline maps for Amsterdam and your day-trip areas. It’s the fastest way to reduce data use and handle rural/park signal drops.
- Choose a plan based on how often you’ll use maps and whether you’ll send media on WhatsApp—then round up slightly.
- Activate when you have Wi‑Fi (or immediately after landing) and run a quick WhatsApp + map test so you know it’s working before you head out.
- If you’re traveling for 4–7 days, avoid plans that are “just barely enough.” A small buffer beats rushing for extra data.